REVIEW · OAHU
From Waikiki: Best of Oahu Photo Tour with Pickup
Book on GetYourGuide →Operated by Oahu Photography Tours · Bookable on GetYourGuide
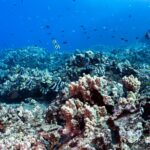
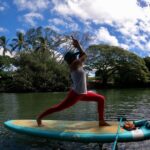
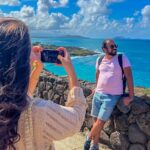
Want Hawaii photos without a rental car? This 5-hour east Oahu photo tour grabs you from Waikiki in a small group (max 7) and pairs you with a professional guide who teaches you how to shoot with any camera or even a phone—guides like Andrew and Emily are repeatedly praised for that hands-on help. I especially like the built-in focus on lookouts (Pali, Makapu‘u, and the Halona Blowhole) and the relaxed, photo-first timing at each stop; the main drawback is simple: food and water aren’t included, and there’s standing and some short walks along dramatic viewpoints.
If you’re short on time, this route is a smart way to get out past Waikiki. A comfortable van handles the driving, you get multiple 15–20 minute photo sessions, and the tour stays light on stress—perfect when you don’t want to spend your day figuring out where to park.
In This Review
- Key moments that make this tour worth it
- Waikiki pickup that actually saves your day
- From the Pali route to Tantalus: where your camera skills get tested
- Nuuanu Pali Lookout (admission included)
- A secret stop for extra variety
- Tantalus Lookout / Puu Ualakaa State Park
- Waimānalo Bay: the best kind of break between lookouts
- Waimānalo photo stop
- Lunch at Ono Steaks & Shrimp Shack
- Makapu‘u Point and Halona: ocean colors you can actually photograph
- Makapu‘u Point lookout
- Halona Beach Cove and the Blowhole area
- Sandy’s Beach Lookout and Hawaii Kai photo time
- Leonard’s Malasada truck: the sweet reset button
- The photo coaching you’ll actually use later
- Price and value: $99 for a guided photo day, not a self-drive checklist
- Who this tour fits (and who should skip it)
- Should you book the Best of Oahu Photo Tour with Pickup?
- FAQ
- How long is the photo tour from Waikiki?
- Is hotel pickup included, and how do I confirm the pickup spot?
- What’s the group size?
- What does the tour include?
- Is lunch included?
- Do I need a specific camera?
- Is the tour suitable for people with mobility impairments?
Key moments that make this tour worth it
- Small group energy (7 max) means less waiting and more attention from your guide
- Professional photo instruction that works for phones and cameras, not only “real” DSLRs
- East Oahu greatest-hits viewpoints: Nuuanu Pali, Makapu‘u Point, and the Halona Blowhole area
- Waimānalo Bay + local lunch stop at Ono Steaks & Shrimp Shack (not catered)
- Snack break at Leonard’s Malasada Truck for a sweet local finish
- Comfort-first transport, with high satisfaction for the van and ride quality
Waikiki pickup that actually saves your day
Most Waikiki tours either start with a headache (finding the right pickup spot) or end with you running late. This one is built around a real pickup plan: you’ll choose from many Waikiki hotel options, and the van meets you at a designated bus pull-up area—not in the middle of the main street crowd.
Two practical tips. First, confirm your exact pickup point with the activity provider 24 hours before your tour. Second, keep it simple: bring only a small day bag. Large luggage isn’t allowed, so you’ll want shoes and basics ready to go.
The payoff is that you start looking at Oahu fast, not negotiating traffic first.
You can also read our reviews of more photography tours in Oahu

From the Pali route to Tantalus: where your camera skills get tested
The tour hits classic “wow” views early, and it’s timed so you can experiment instead of just snapping and moving on.
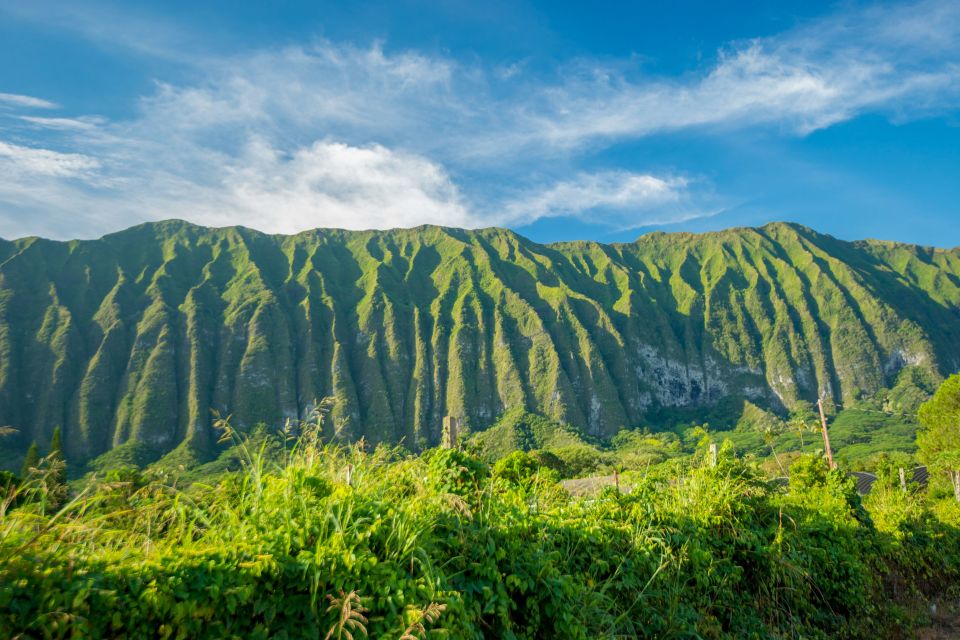
Nuuanu Pali Lookout (admission included)
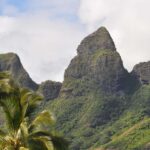
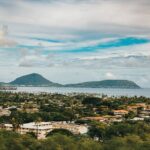
At the Pali lookout, you get about 20 minutes for photos. This stop matters because it’s a true “big picture” Hawaii scene: you’re up high, you can see the Ko’olau Mountains slicing across the island, and the atmosphere can make even average camera settings look dramatic.
If you want portraits, landscapes (literal scenery word here—because it’s exactly what you’re photographing), or phone panoramas, this is a good place to try. Your guide will often help you with basic framing cues like where to place the horizon and how to reduce blown highlights from bright sky.
A secret stop for extra variety
Between big-name stops, you’ll also get a secret photo stop with another 20 minutes. That slot usually gives you a different angle or a less typical composition—useful if you already took a few shots around Waikiki and want variety without doing extra work.
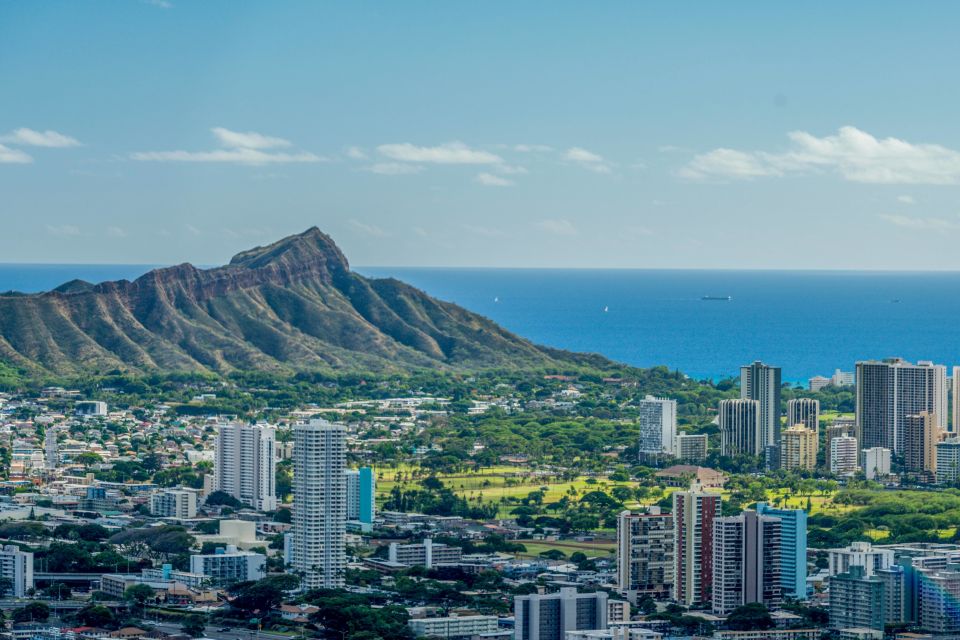
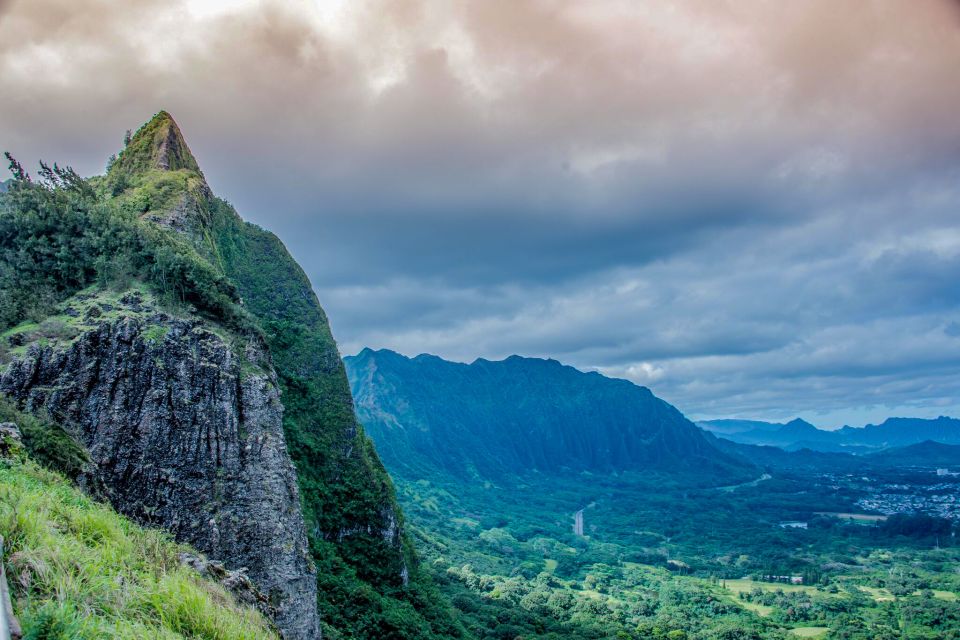
Tantalus Lookout / Puu Ualakaa State Park
Then comes Tantalus Lookout at Puu Ualakaa State Park with another 20 minutes for photos. This is one of those “you’ll get why it’s famous” viewpoints. Expect sweeping views, dramatic light changes, and a great chance to work on exposure and steadiness.
In the group, you may notice guides like Kurt and Mac repeatedly encouraging people to slow down and shoot with intention—position first, then settings. One review even called out help with action video ideas, which makes sense here because you’ll be tempted to record sunsets and ocean motion.


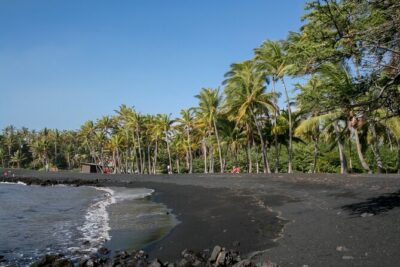
Waimānalo Bay: the best kind of break between lookouts
After the drive-and-lookout portion, you land in a slower-feeling part of the island: Waimānalo.
Waimānalo photo stop
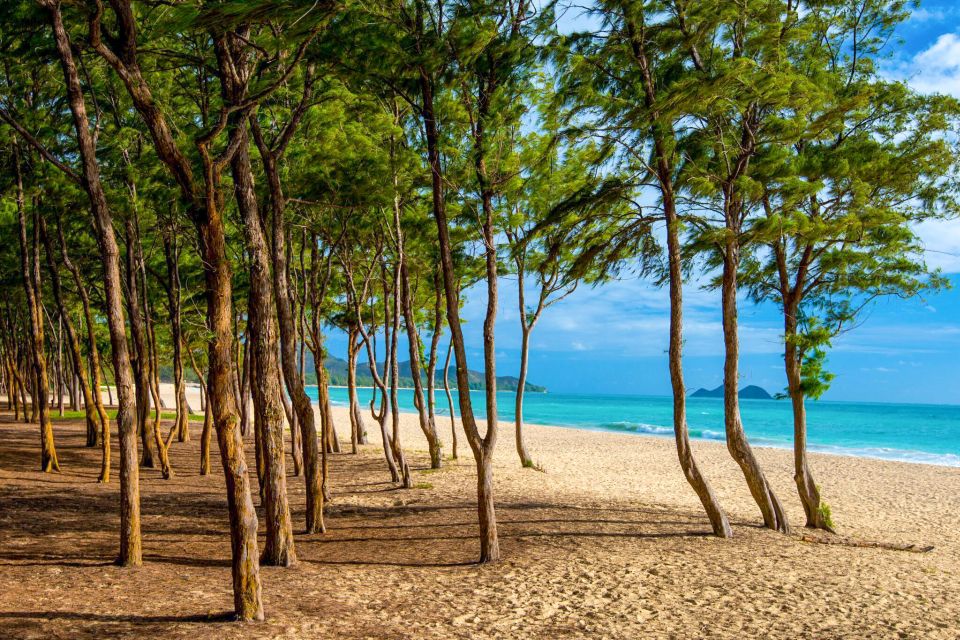
You’ll get about 20 minutes here to photograph Waimānalo Bay with the Ko’olau Mountains in the background. This is a nice change from the cliff-and-overlook style shots. You can aim for softer beach colors, shoreline lines, and a more “human-scale” scene.
Practical note: this stop is short, so don’t plan a long wander. Wear shoes you’re comfortable standing in, and use your time to grab a few angles—wide view, then closer details like textures of sand and sea.
Lunch at Ono Steaks & Shrimp Shack
Lunch is about 1 hour at Ono Steaks & Shrimp Shack. Food isn’t included in the tour price, so think of this as a local meal opportunity built into the day—not a free lunch.
What I like about this lunch stop is the simple trade-off: you’re getting a real bite of local food in Waimānalo while you’re already in the area. It beats the common tourist trap of grabbing something generic back near your hotel.
If you’re picky about timing, here’s what to remember: the schedule is structured so you’re back in motion after lunch. If you like to take your time at meals, plan to order something you can eat without lingering too long.
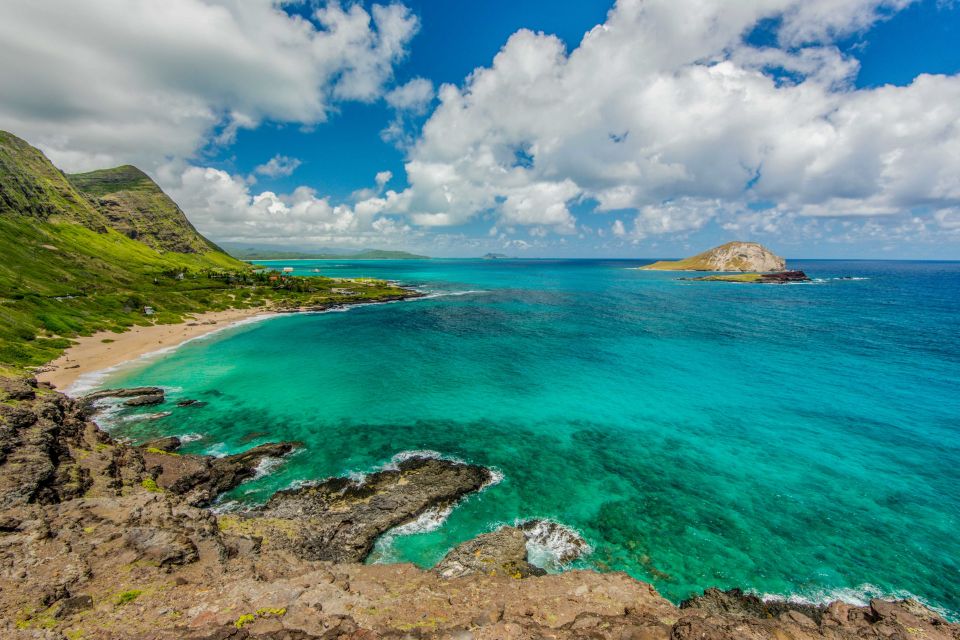
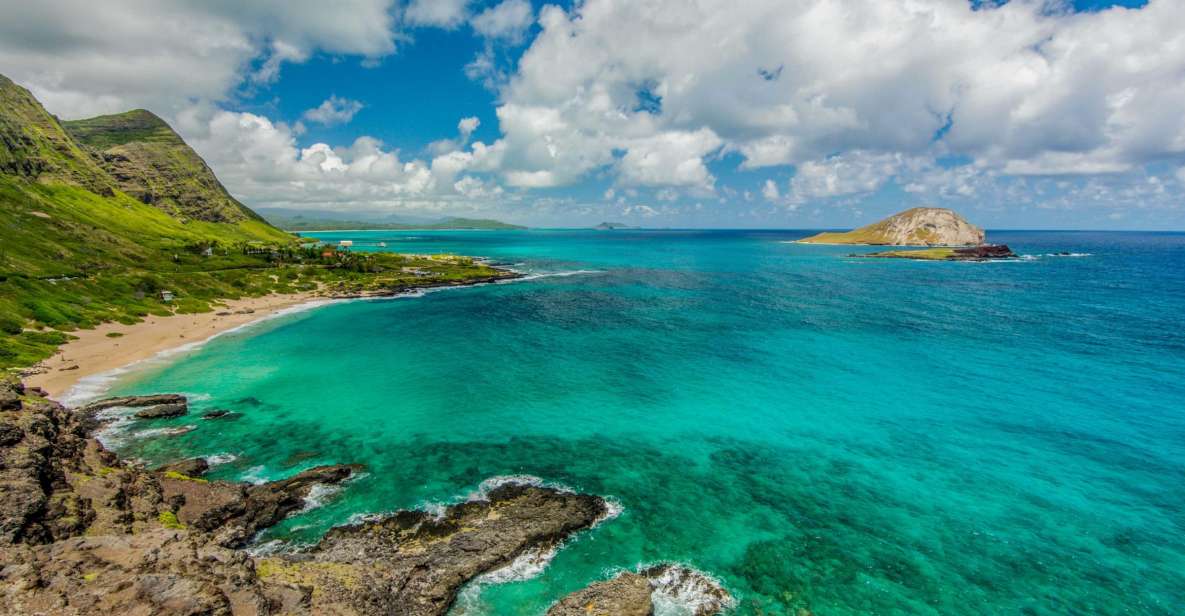
Makapu‘u Point and Halona: ocean colors you can actually photograph
If you came to Oahu for the blue water and the cliff drama, this part of the tour is why you booked.
Makapu‘u Point lookout
At Makapu‘u Point, you get around 20 minutes. This lookout tends to deliver bold ocean views, and it’s where your guide’s photo coaching becomes super practical. Bright ocean light can trick your camera (and your eyes), so guidance on exposure—plus quick composition tips—helps.
You’ll also want to think about your “shot list” before you step out. Wide-angle for the coastline, medium framing for depth, and then one or two phone close-ups for water texture. Don’t try to do everything at once.
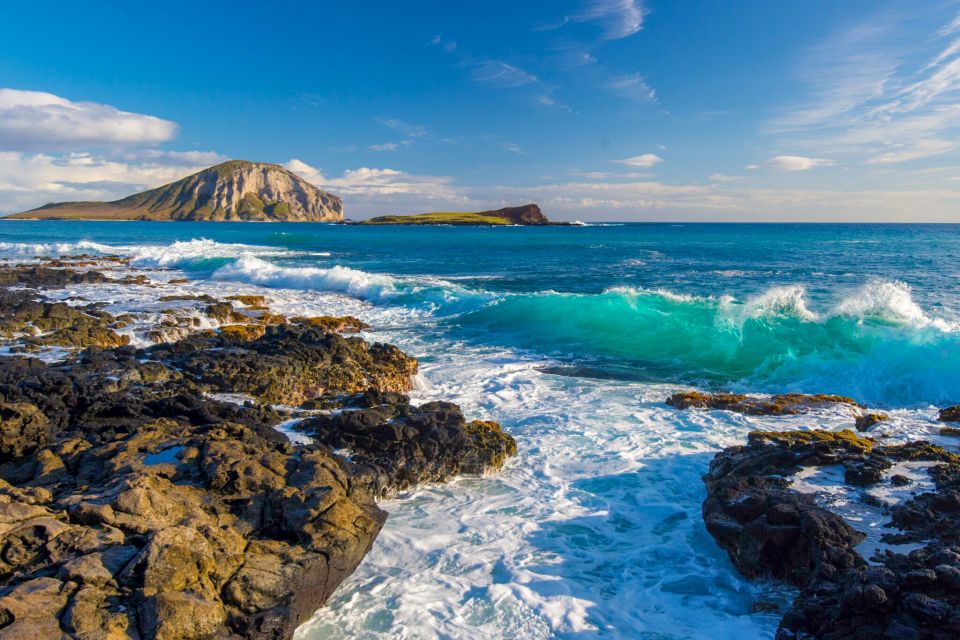
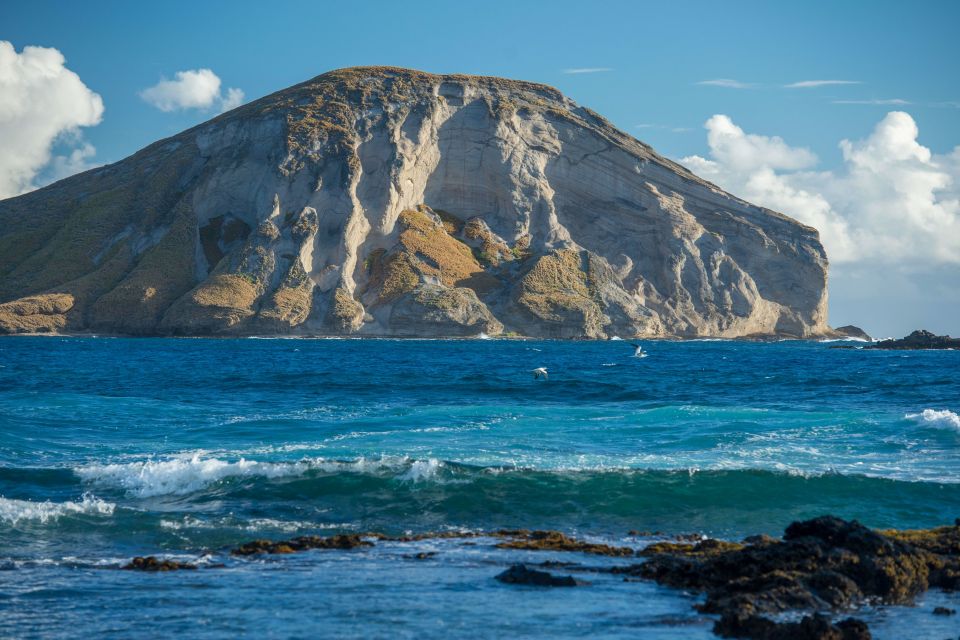
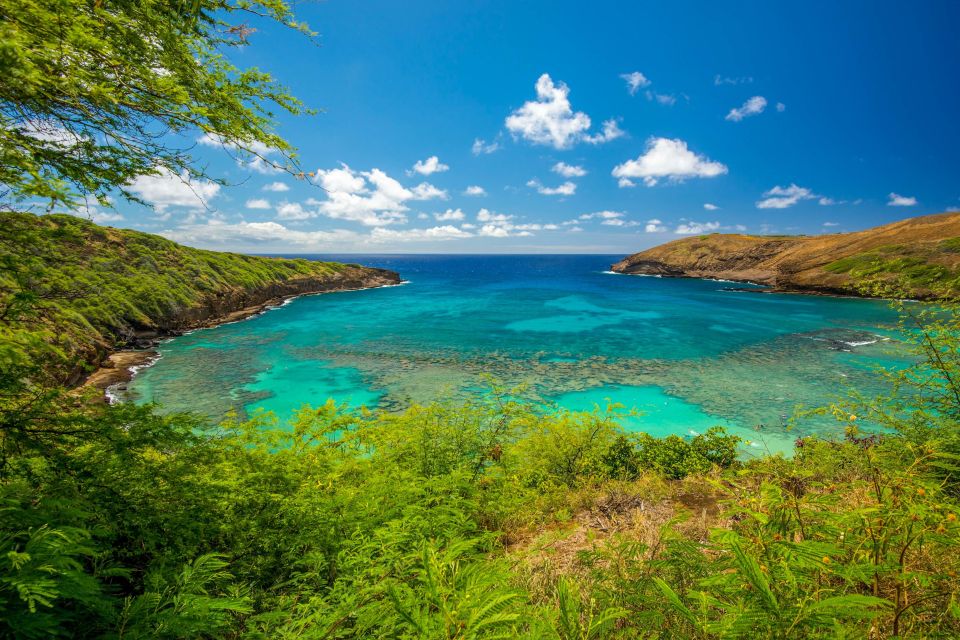
Halona Beach Cove and the Blowhole area
Next is Halona Beach Cove with a shorter about 15 minutes. Nearby is the Halona Blowhole, formed by old volcanic activity—specifically molten lava tubes from eruptions thousands of years ago. That geology detail is more than trivia; it helps you understand why the rock features look the way they do and why ocean action can look so intense here.
The Blowhole is also one of those places where timing matters. The ocean does what it does. Your best strategy: shoot a few frames while you wait, then adjust angle when water rhythm changes. Your guide can help you find where the light hits best and how to avoid turning your photos into foggy spray blobs.
Sandy’s Beach Lookout and Hawaii Kai photo time
The tour also includes additional viewpoint stops such as Sandy’s Beach Lookout and Hawaii Kai. These help break up the “only cliffs” feeling and add more variety to your final photo set—sand, ocean, and coastal lines, instead of just lookout angles.
Even if you’re not chasing perfect beach photos, these stops are useful for filling out your memory of the day. A good photo tour should leave you with a balanced mix: wide views, mid-shots, and a couple of details that make you remember the vibe.
Leonard’s Malasada truck: the sweet reset button
The day ends (or near-ends) with a Leonard’s Bakery Malasada Truck stop, about 20 minutes for local snacks.
Food isn’t included, so plan to buy your treat. But I like this as a finale because it’s a low-pressure break where you can swap phone storage worries for real sugar energy. It also gives you time to review what you shot earlier and ask your guide quick questions while you’re relaxed.
Some guides are known for going the extra mile with photos—one review mentioned receiving bonus pictures taken on film from Andrew. That may not happen with every group, but it’s a hint of how these guides tend to work: they don’t treat the camera like a prop.
The photo coaching you’ll actually use later
This isn’t just a drive-by sightseeing loop. The strongest part is that your guide works with your actual device and gives you feedback you can apply right away.
Across multiple guide examples—people named Kurt, Mac, Malcolm, Emily, and Andrew—the common theme is practical help:
- Tips for using phone camera settings (so you stop fighting your auto mode)
- Guidance on composition (where to stand, what to include, what to leave out)
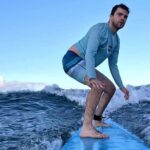
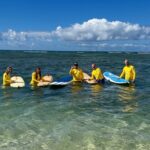
- Help taking action videos as well as still shots, which makes sense on windy, ocean-heavy stops
Even if you’re not serious about photography, you’ll likely leave with two outcomes: better photos and a clearer sense of how to plan your own shots next time. That second part matters. A good tour teaches you how to see.
And because it’s a small group (up to 7), you’re less likely to feel like you’re standing alone at a viewpoint with nobody watching your technique.
Price and value: $99 for a guided photo day, not a self-drive checklist
At $99 per person for 5 hours, you’re paying for three things:
- Pickup in Waikiki (so you don’t need a car for this east-side route)
- A professional photographer guide focused on helping you shoot better
- Multiple major viewpoints with enough time at each to practice
What you should budget for:
- Lunch at Ono Steaks & Shrimp Shack (food not included)
- Water and snacks (food isn’t included, and water isn’t included)
- Any purchases at snack stops like malasadas
The value is strongest if you want to get out of Waikiki fast and you care about photos more than just checking boxes. If you’re the type who doesn’t care about photography at all, you might not feel the “pro guide” value. But if you want better results from your phone camera—or you’ve been disappointed by your last batch of vacation photos—this is priced like a sensible investment.
Who this tour fits (and who should skip it)
This tour is a great fit if:
- You’re staying in Waikiki and don’t want to drive
- You want east Oahu highlights without a full-day rental plan
- You’re traveling with a small group or solo and like the feel of personal attention
- You want instruction that works for phones or cameras
It’s not a great fit if you have mobility limitations. The tour isn’t suitable for people with mobility impairments, and even with short stops, you’ll be standing and walking a bit through viewpoint areas.
Also, pack light. No large bags or luggage.
Should you book the Best of Oahu Photo Tour with Pickup?
I’d book it if your goal is simple: better Hawaii photos plus a smooth, low-stress way to see the island’s dramatic east side. The small group size, the professional photo coaching for phone users, and the line-up of Pali, Makapu‘u, and the Halona Blowhole add up to strong value for a half-day.
I’d reconsider if you’re on a super tight food budget (because lunch and snacks aren’t included) or if you want long hiking time. This is a photo day with short walks and timed stops—not a day for slow trekking.
If you go, do two things: wear closed-toe shoes, and come ready to learn how to frame your shots, not just how to click the shutter.
FAQ
How long is the photo tour from Waikiki?
The tour duration is 5 hours.
Is hotel pickup included, and how do I confirm the pickup spot?
Pickup is included from hotels in Waikiki, but the van meets you at a designated bus pull-up area. The address you provide may not match the exact pickup point, so you should contact the activity provider 24 hours before your tour to confirm the exact location.
What’s the group size?
This is a small group tour limited to 7 participants.
What does the tour include?
It includes a professional photographer guide and Waikiki hotel pickup. Admission is included for the Pali lookout. The tour includes photo stops and a treat/snack stop, but food and water are not included.
Is lunch included?
No. Lunch is part of the schedule, but food is not included, and the stop is at Ono Steaks & Shrimp Shack (not catered).
Do I need a specific camera?
No. You can bring any camera and learn how to take better photos. Guides also help with phone photography.
Is the tour suitable for people with mobility impairments?
No. The tour is not suitable for people with mobility impairments.