REVIEW · OAHU
Waikiki: Honolulu Beginner Snorkeling Tour with Videos
Book on GetYourGuide →Operated by Try Scuba Diving- Hawaii · Bookable on GetYourGuide
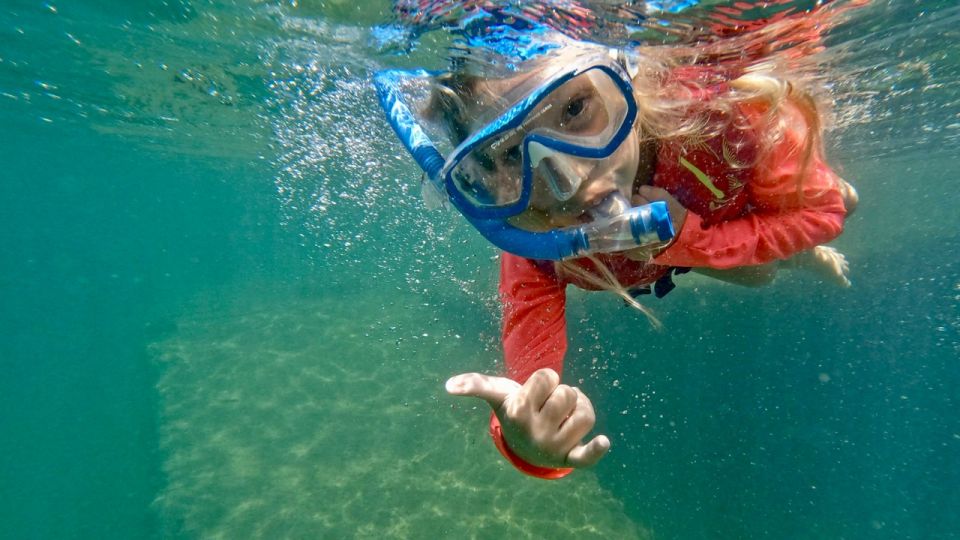
First-timers get a lot of confidence here. This Waikiki beginner snorkeling tour keeps things simple in the sheltered waters of Magic Island Lagoon, then adds the fun payoff of video clips made during your session. You start with coaching, get comfortable with the gear, and then you’re guided around the snorkeling area to spot marine life at an easy pace.
I especially like the way the lesson is structured for non-surfers. You practice in shallow water until you feel set, and you never have to guess what you’re supposed to do next. I also love the “you get footage” part—your instructor records the experience and downloads it to your phone at the end.
One consideration: visibility can be less than perfect some days. A bit of murkiness can happen in the lagoon, which means you might not see every fish clearly.
In This Review
- Key takeaways before you go
- Why Magic Island Lagoon works so well for Waikiki first-timers
- Getting oriented: check-in near Lifeguard Tower 1G
- The 90-minute snorkeling flow: from briefing to guided sea life
- 1) Quick snorkeling briefing
- 2) Equipment practice in shallow water
- 3) Follow your instructor around the snorkeling area
- 4) Your guide records the action
- 5) Finish and get your videos on your phone
- Video on your phone: the easiest souvenir you’ll carry
- What you can realistically see (and what to expect if visibility is off)
- Equipment basics: what’s included, and how the mask rules work
- What to bring for this Waikiki lagoon session
- Price and value: what you get for $59
- Who should book this tour (and who should skip it)
- Should you book this Waikiki beginner snorkeling tour?
- FAQ
- How long is the Waikiki beginner snorkeling tour?
- Where do I meet for the tour?
- What’s included in the price?
- Is hotel pickup and drop-off included?
- Do I need to be able to swim to snorkel?
- Can I use prescription glasses with the mask?
- Do you offer a life vest?
- Is the tour held rain or shine?
- What should I bring?
- Who is this tour not suitable for?
Key takeaways before you go

- Magic Island Lagoon is beginner-friendly: calm, shallow water for learning without feeling swept around
- Gear practice first, ocean later: you’ll rehearse equipment use before you start moving with the group
- Instructor-led spotting: your guide points out sea life so you’re not just swimming and hoping
- Video clips on your phone: you get a memento without paying extra for photos or editing
- Optional life vest: useful if you want extra comfort while you get your rhythm
- Visibility can vary: if the water is murky, sightings may look less crisp
Why Magic Island Lagoon works so well for Waikiki first-timers
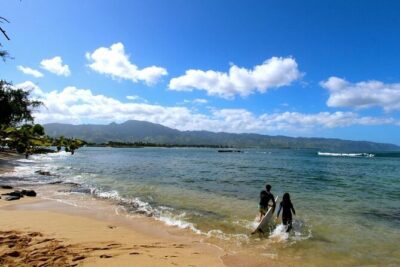
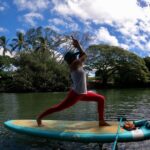
Waikiki has plenty of ocean energy, but this tour is designed for the opposite mood: calm, contained water. You’ll be snorkeling in Magic Island Lagoon, which is the kind of place where beginners can focus on breathing, balance, and not getting tangled. That matters, because the first hurdle in snorkeling isn’t the fish. It’s getting comfortable with the mask and snorkel.
This is also a smart location for short attention spans. The total time is only 90 minutes, and the session is planned so you’re in the water for the right amount of time to learn without getting exhausted. It’s a great fit for your first day in Honolulu when you want something fun that doesn’t require a whole-day commitment.
Marine life in the lagoon can be surprisingly interesting for such a sheltered setting. People mention seeing lots of fish, coral, and even smaller critters like squid and sea cucumber. The experience is less about big, dramatic wildlife and more about learning what’s right there beside you—how to look, how to stay calm, and how to notice movement under the surface.
You can also read our reviews of more snorkeling tours in Oahu


Getting oriented: check-in near Lifeguard Tower 1G
Your starting point is at Magic Island Lagoon. Check in near lifeguard tower 1G. That’s the detail that saves you time. There may not be a giant sign pointing the way, so I’d plan a few extra minutes to locate the group before your start time.
Parking is typically simple around Magic Island, and the area is active with other water activities, including scuba instruction. You may spot tanks and people gathered near the waterline, which helps you get your bearings fast. Once you find the right check-in spot, the rest of the experience moves quickly.
Bring basics that keep you comfortable and dry-ish after you finish. The tour doesn’t include a towel, so plan to carry one. You’ll also want swimwear and a filled water bottle, since water isn’t listed as included.
The 90-minute snorkeling flow: from briefing to guided sea life
The tour is built around a clean sequence, and that’s what makes it feel beginner-safe. Here’s how the time usually plays out:
1) Quick snorkeling briefing
You’ll get a short rundown on how to behave in the water and how to use the equipment. This is where you learn what to do if something feels awkward—how to adjust your mask, how to manage breathing, and how to avoid rushing.
2) Equipment practice in shallow water
Before you follow the group farther, you practice using the snorkel setup in shallow water. This is a big deal. It turns snorkeling from a mystery into a skill. You’re not being thrown into deeper water while you’re still figuring out the basics.
In the water, calm coaching is the difference between enjoying the view and focusing only on panic. Many instructors on this tour are described as relaxed and patient, including guides named Keith, Faith, and Nick, who are repeatedly praised for helping beginners feel comfortable.


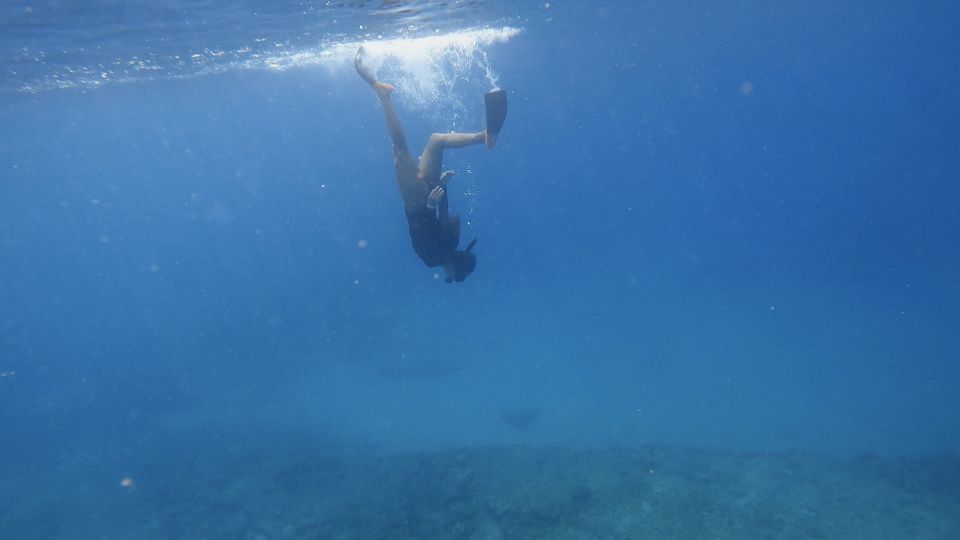
3) Follow your instructor around the snorkeling area
Once you’re comfortable, you’ll move along with the instructor. Your guide points out sea life and keeps the group together. This makes the experience more rewarding because you’re learning what to look for, not just passing by it.
4) Your guide records the action
The tour includes video of your snorkeling adventure. Your instructor captures the moments you’re swimming, looking around, and exploring. Since the lagoon setting is controlled, you get a better chance of steady footage rather than frantic thrashing.
5) Finish and get your videos on your phone
At the end, the instructor downloads the videos directly to your phone. That turns the tour into a real keep-sake, not just a memory you’ll remember later while scrolling photos from other parts of your trip.
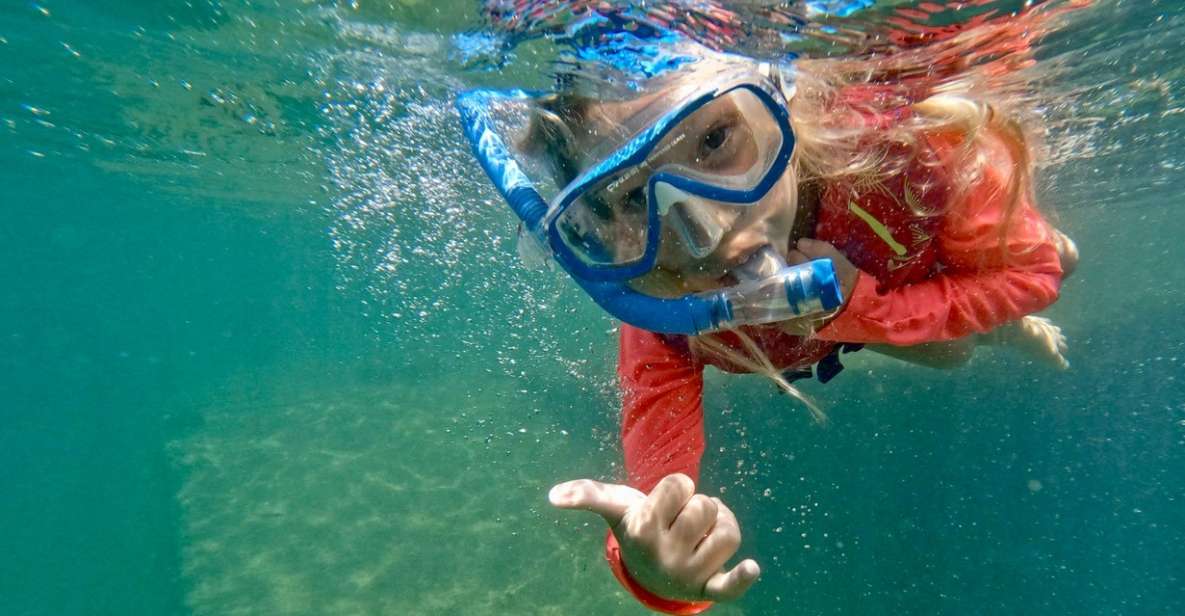
Video on your phone: the easiest souvenir you’ll carry
If you’ve ever done an outdoor activity where the only proof is blurry screenshots, you’ll like this part. The tour’s big value-add is that you’re recorded while you’re snorkeling—then you get the clips afterward without extra payment for the footage.
A few people specifically mention that they received video via WhatsApp (no charge) after the tour, which suggests the operator is set up for practical sharing. Still, keep one thing in mind: at least one person had an issue when their phone couldn’t accept the video download, and they asked for help sending it another way. So if your phone memory is tight or your connectivity is spotty, consider clearing space ahead of time.
Also, remember: you’re not bringing a GoPro and trying to film yourself. Your instructor is doing the camera work. That’s the whole point.
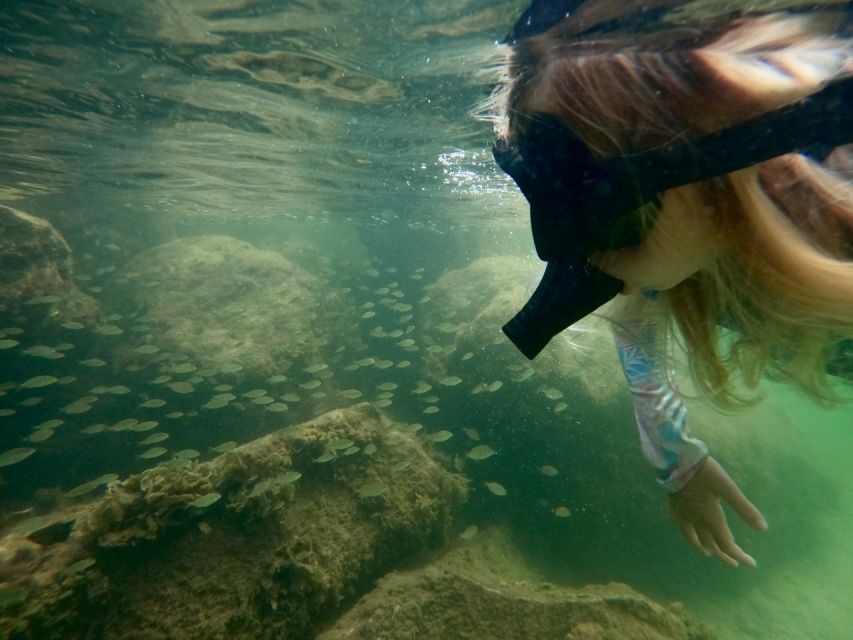
What you can realistically see (and what to expect if visibility is off)

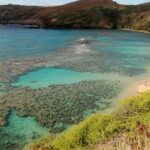
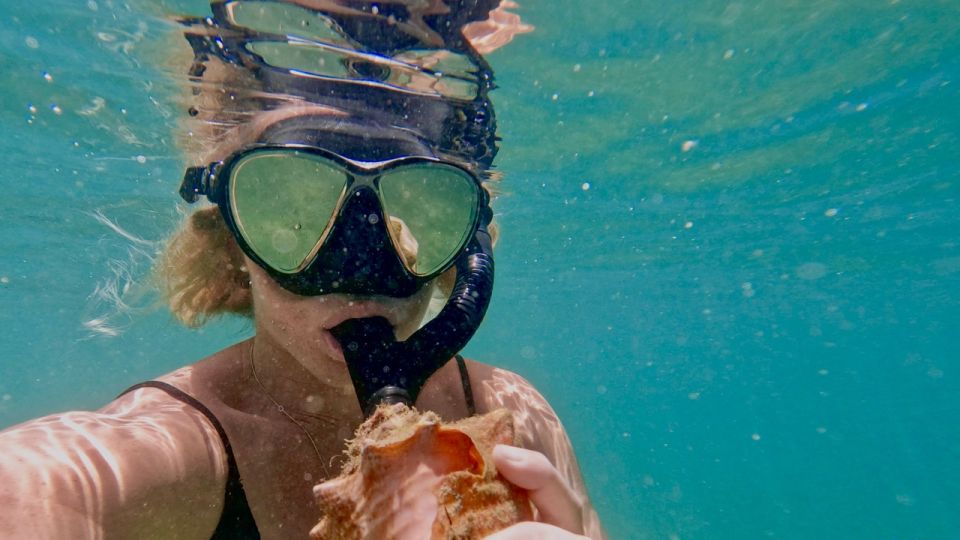
People often talk about lots of fish and clear views of the lagoon environment, and you can often spot coral close by. Some guides are praised for showing multiple kinds of sea life, and a common highlight is being able to hold a small creature like a starfish during the session.
But here’s the honest part: underwater conditions can change. One guide-led lesson can be crisp and colorful; another day can be murkier, which reduces how detailed things look. That doesn’t make the tour bad—it just changes what you can clearly see.
You also shouldn’t count on a specific animal. For example, one beginner said they wished they saw turtles. That tells me the tour is best treated as a calm introduction to lagoon sea life—not a guaranteed wildlife-spotting safari.
If your goal is first-time comfort plus a few good sightings, this works well. If your goal is a checklist of headline animals no matter what, you may feel a little impatient when the water isn’t at its best.
Equipment basics: what’s included, and how the mask rules work
Good beginner snorkeling starts with fit and clarity. Your snorkeling equipment is included, so you won’t need to rent gear separately.
One detail that matters a lot: prescription glasses can’t be worn under snorkel or scuba masks. Contact lenses are allowed, or you may go without. If you go without, you should know that underwater magnification makes objects appear about 25% closer and larger, which can actually help you make sense of what you’re seeing.
The best practical move: if you wear contacts, bring them as usual. If you rely on prescription glasses, plan to switch to contacts or go without for this activity.
Also, snorkeling isn’t listed as requiring swimming ability. You do need to be comfortable in the water, though. So if you freeze in open space, take the lesson portion seriously and consider asking to use a life vest. One person highlighted that having the option of a life vest made the experience much easier.
What to bring for this Waikiki lagoon session
This tour is simple, but you’ll want to be ready. Here’s what you should bring because it isn’t included:
- Swimwear
- Towel
- Water
- Biodegradable sunscreen
That last item matters. Use biodegradable sunscreen if you can, because it’s the option specifically called out for this kind of marine environment.
If you’re wearing contacts, bring a case. If you have long hair, pack something to secure it. After you’re done, you’ll want the basics to change out and avoid a soggy walk.
Price and value: what you get for $59
At $59 per person, this tour feels like good value if your priority is a beginner lesson plus a tangible souvenir.
Here’s what you’re paying for that you’d otherwise need to buy or arrange yourself:
- Snorkeling equipment (so you’re not renting gear separately)
- An instructor who stays with you and handles the teaching part
- Video recorded during the experience
- A 90-minute guided session that’s long enough to learn basics but short enough to fit into a trip day
What’s not included also matters for value. You’re not getting hotel pickup/drop-off, food, or water. You’ll need your own towel and swimwear. So think of the $59 as covering the guided learning and the footage, not your full day.
If you’re the type of traveler who hates complicated logistics, this is a straightforward add-on. You show up, you learn quickly, you get your video, and you can be done without planning a whole expedition.
Who should book this tour (and who should skip it)
This tour is designed for people who are new to snorkeling and want a guided, controlled start. It’s a strong match if:
- You want to try snorkeling without feeling like you’re taking on the open ocean
- You’re traveling with family members who need a patient, step-by-step approach
- You want a short activity that fits a first day in Waikiki
Many people describe guides as calm and patient, and some mention feeling more comfortable with a female instructor. A few also note that older beginners felt taken care of and safe.
Who should skip:
- Children under 8
- Pregnant women
- People with back problems
- People with heart problems
That list isn’t random. It’s a sign the activity expects participants to be able to handle water comfort and basic physical movement.
One more practical note: the group can be large. One person felt the group was too big for a single tutor. That doesn’t mean it’s unsafe, but if you’re someone who learns best with lots of one-on-one attention, you’ll want to be okay with a more general coaching style.
Should you book this Waikiki beginner snorkeling tour?
If you’re looking for a low-stress way to try snorkeling in Waikiki, I’d book it—especially for your first attempt. The big reason is the combination: beginner coaching in shallow water plus an instructor-recorded souvenir that ends up on your phone.
I’d hesitate only if you’re very picky about visibility or you’re chasing a specific wildlife moment like turtles. Murk can happen. And like any activity tied to water conditions, that’s outside the operator’s control.
If your goal is confidence, simple technique, and a fun memento, this is a solid pick for Magic Island Lagoon.
FAQ
How long is the Waikiki beginner snorkeling tour?
The tour lasts about 90 minutes.
Where do I meet for the tour?
Check in near lifeguard tower 1G at Magic Island Lagoon, Honolulu.
What’s included in the price?
Included are snorkeling equipment, videos, and an instructor.
Is hotel pickup and drop-off included?
No. Hotel pickup and drop-off are not included.
Do I need to be able to swim to snorkel?
Swimming is not required, but you must be comfortable in the water.
Can I use prescription glasses with the mask?
Prescription glasses cannot be worn under snorkel or scuba masks. Contact lenses are allowed, or you can go without.
Do you offer a life vest?
You have the option of wearing a life vest, which can help if you want extra comfort while learning.
Is the tour held rain or shine?
Yes, the experience takes place rain or shine.
What should I bring?
Bring swimwear, a towel, water, and biodegradable sunscreen.
Who is this tour not suitable for?
It’s not suitable for children under 8, pregnant women, and people with back problems or heart problems.