REVIEW · OAHU
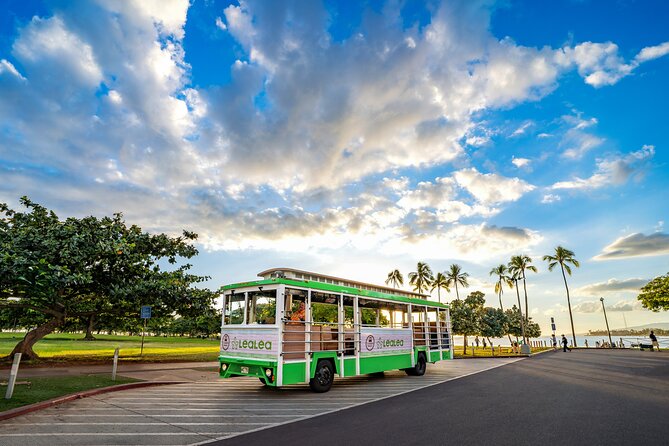
1 Day Pass LeaLea Trolley and Waikiki Trolley Pink Line
Book on Viator →Operated by LeaLea Tours · Bookable on Viator
A lot of Oahu can fit into one day pass. This LeaLea Trolley + Waikiki Trolley Pink Line ticket is built for hop-on, hop-off exploring, with stops that run across Waikiki, Ala Moana, downtown Honolulu, and out toward places like Diamond Head and even Hanauma Bay photo stops. I like the simple pricing (a single $35 ticket) and the fact that it’s practical for first-timers who want options without committing to one exact sightseeing plan.
Two things I also really like: you’re not stuck in one small area, and the route passes major landmarks and big shopping anchors. One drawback to keep in mind: you’ll only get the trolley ride, not museum entries or attraction tickets, and you may find the experience less like a guided tour and more like a long string of stops.
In This Review
- How the Pink Line works in real life
- Key things to know before you ride
- What You’re Buying: The day pass value and limits
- Royal Hawaiian Center to start: the smartest way to jump on
- Waikiki highlights you can reach without a car
- Duke Paoa Kahanamoku Statue and the Waikiki core
- Twin Fin Hotel and Hotel La Croix: a useful middle layer
- Hilton Hawaiian Village: big landmark, lots of nearby choices
- Prince Waikiki and Waikiki’s shopping spine
- Ala Moana and Kaka’ako: shopping, food, and easy hopping
- Ala Moana Center and nearby anchors
- Don Quijote, Walmart, and other practical stops
- SALT at Our Kaka’ako and Ward Village
- Downtown Honolulu: Iolani Palace, Bishop Museum, and the culture day plan
- Honolulu Museum of Art (HoMA) and State Capitol area
- Foster Botanical Garden and Bishop Museum
- Izumo Taishakyo Mission of Hawaii and Iolani Palace
- Neal S. Blaisdell Center
- Diamond Head and the long ride toward the southeast
- KCC Farmers’ Market and Diamond Head Crater
- Hanauma Bay and Halona Blowhole: photo stops, not full visits
- Sea Life Park Hawaii and further coastal stops
- Kaimukī, local strip stops, and “grab it and go” food access
- Practical Tips: avoid wasted time and confusion
- Use the trolley like transportation, not a narration service
- Start at Royal Hawaiian Center if you can
- Pick one “big ticket” area for your time
- Bring the essentials and expect lots of street walking
- Who this is best for (and who should skip)
- Final call: should you book the LeaLea Waikiki Trolley Pink Line?
- FAQ
- How much does the LeaLea Trolley and Waikiki Trolley Pink Line pass cost?
- How long does the trolley pass last?
- What hours is the trolley route running?
- What is included in the price?
- Are attraction tickets included (museums, zoos, or parks)?
- What is the cancellation policy?
How the Pink Line works in real life
Plan for flexibility. The day pass is listed as “duration 3 hours (approx.),” but the route itself includes a huge collection of stops—so you’re really choosing what you want to ride to and what you want to hop off for. It runs 8:00 AM–5:00 PM daily, which is enough time to do a couple of neighborhoods well, but not enough (for most people) to fully explore every single stop on the list.
Also, one practical heads-up from experience patterns: it’s worth double-checking where you’re boarding and how parking works at your start point. A past issue flagged extra confusion about parking near Royal Hawaiian Center, and the price for a short parking session there wasn’t cheap.
Key things to know before you ride
- Hop-on, hop-off style route: You pick which stops to spend time at, instead of a fixed guided loop.
- Stops cover Waikiki, Ala Moana, and downtown: Royal Hawaiian Center, Duke Paoa Kahanamoku Statue, Ala Moana Center, and Iolani Palace are on the route.
- Photo stops are short and scheduled: Hanauma Bay and Halona Blowhole are listed as 15-minute photo stops.
- Attraction tickets aren’t included: The pass is only for the trolley ride; you pay any admissions separately.
- Run time window matters: The trolley operates 8:00 AM–5:00 PM, so start early if you want multiple areas.
- Communication can be inconsistent: One reported frustration involved a driver who wasn’t easy to understand and limited local commentary.
You can also read our reviews of more tours and experiences in Oahu


What You’re Buying: The day pass value and limits
Let’s start with the math. The price is $35 per person, and the ticket includes only the trolley pass. That means the value comes from how many different parts of Honolulu you can reach on one day without paying separate rides or booking multiple transportation segments.
Here’s the tradeoff. This is not framed as an entry-ticket bundle. If you hop off at Bishop Museum, Honolulu Museum of Art, Sea Life Park, or any other paid attraction, you’ll still need to buy those tickets separately. So I treat it like transportation with sightseeing convenience—not a magic pass that pays for everything.
The other detail that changes how you should plan: the pass is marked as 3 hours (approx.). The route list is long, but your time is limited. My advice is to pick a theme for your ride—Waikiki + one nearby area, or downtown + one cultural stop—then use the trolley to connect the dots.
Royal Hawaiian Center to start: the smartest way to jump on
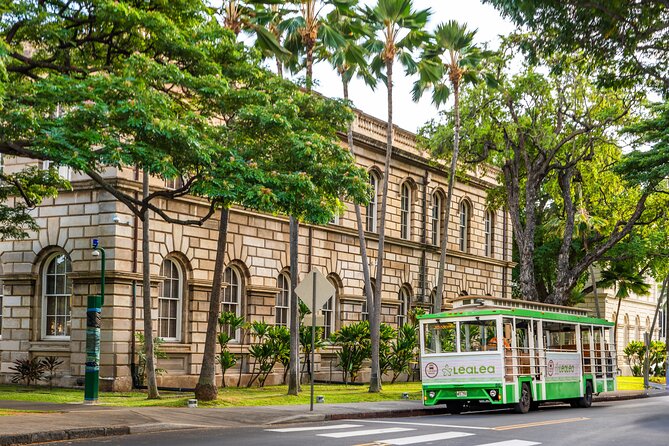
If you want an easy beginning, your best bet is the stop at Royal Hawaiian Center. It appears repeatedly on the route list, and it’s one of the most central “anchor” locations on the whole network.
Why this matters: the more times a stop shows up, the easier it is to reset your plan. If you spend too long at a shop or you just missed a connection, you have another chance to get back on without feeling like you’re trapped across town.
One practical caution: parking confusion comes up around this area. A reported issue described not getting clear direction on where to park and then paying $2.50 for 20 minutes. You don’t need a car to do this well, but if you are driving, I’d arrive with extra time and have your parking plan ready.
Waikiki highlights you can reach without a car
The Pink Line touches classic Waikiki reference points. If you like walking with a plan, this is where the trolley shines.
Duke Paoa Kahanamoku Statue and the Waikiki core
One of the first named landmarks is the Duke Paoa Kahanamoku Statue. It’s an easy “orientation pin” so you can line up your day around Waikiki’s main beachfront energy. From there, the route moves through hotel-zone stops that make it simple to drift between beaches, shopping, and food.


Twin Fin Hotel and Hotel La Croix: a useful middle layer
Stops like The Twin Fin Hotel and Hotel La Croix sit in the middle of the Waikiki hotel strip. I like these because they’re not just one-stop gimmicks. They’re practical boarding points that let you hop off for a quick meal, then hop back on when you’re ready to reposition.
Hilton Hawaiian Village: big landmark, lots of nearby choices
There are multiple stops at Hilton Hawaiian Village Waikiki Beach Resort – Grand Islander 1F. That matters because Hilton Hawaiian Village is a major hub in Waikiki. Even if you don’t plan to spend hours inside a resort, this is a strong “transportation node” for getting across the neighborhood.
Prince Waikiki and Waikiki’s shopping spine
You’ll also see Prince Waikiki and shopping-area stops tied to Royal Hawaiian Avenue. This is a good pairing with what the trolley does best: giving you access to shopping and street life without locking you into one block.
Ala Moana and Kaka’ako: shopping, food, and easy hopping
A big reason I’d consider this pass is that it connects Waikiki to Ala Moana and related shopping districts.
Ala Moana Center and nearby anchors
The route includes Ala Moana Center and an Ala Moana Honolulu by Mantra stop. Ala Moana is a major shopping and dining hub, and it’s also a great “reset zone.” When you’re tired of bouncing between Waikiki hotels, hopping to Ala Moana can feel like swapping out crowds for a more organized mall-and-streets layout.
Don Quijote, Walmart, and other practical stops
Stops such as Don Quijote Honolulu and Walmart are listed on the route. This is useful when you need practical items quickly—snacks, basics, sunscreen, and anything you realized you forgot at check-in.
SALT at Our Kaka’ako and Ward Village
The route also reaches SALT at Our Kaka’ako and the Ward Village area (with stops on Ala Moana Boulevard and Queen Street). If you like walking through modern Honolulu street scenes and grabbing a drink or snack, these stops help you do it without figuring out a whole new transportation plan.
Downtown Honolulu: Iolani Palace, Bishop Museum, and the culture day plan
The Pink Line isn’t limited to beaches and shopping. It also reaches a classic set of Honolulu sights in one ride network.
Honolulu Museum of Art (HoMA) and State Capitol area
Stops include Honolulu Museum of Art (HoMA) and Hawaii State Capitol. Even if you don’t buy museum tickets, the area is a good base for short walks and “get your bearings” sightseeing.
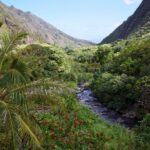
Foster Botanical Garden and Bishop Museum
You’ll see Foster Botanical Garden and Bishop Museum listed. This is a good pairing because it sets you up for a nature break and then a major cultural stop. Just remember: the pass covers the trolley ride, not entry. So decide ahead of time which one you want to pay to enter.
Izumo Taishakyo Mission of Hawaii and Iolani Palace
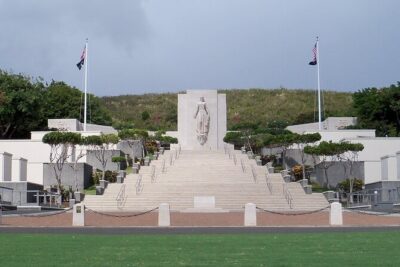
The route lists Izumo Taishakyo Mission of Hawaii and Iolani Palace (plus the King Kamehameha Statue). These are the kinds of stops that justify planning more time on the downtown side.
My approach: if you only have a short day, choose either the “palace + statue” focus or the “museum + garden” focus. Trying to do everything in one trip is how you end up hopping off, taking a few photos, then getting back on before you actually enjoy anything.
Neal S. Blaisdell Center
The route includes Neal S. Blaisdell Center. It’s another central anchor that can help you position yourself if you’re heading toward events, performances, or just want a recognizable midtown reference point.
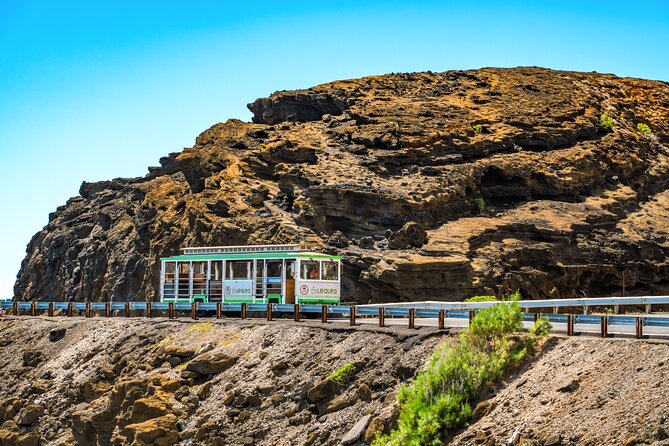
Diamond Head and the long ride toward the southeast
One of the biggest appeals of the Pink Line is how it reaches toward Diamond Head and the southeast coast—but this is where you have to watch timing.
KCC Farmers’ Market and Diamond Head Crater
Stops include KCC Farmers’ Market and Diamond Head Crater. If your goal is iconic views, Diamond Head is a logical “big moment” stop. I’d plan a longer buffer here because time estimates can slip once you start walking and taking breaks.
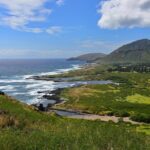
Hanauma Bay and Halona Blowhole: photo stops, not full visits
The route lists Hanauma Bay and Halona Blowhole Lookout as 15-minute photo stops. Treat these as quick stops for views and photos, not as a full sightseeing or snorkeling schedule. If you’re hoping for more than that, you’ll need to build a separate plan around those locations.
Sea Life Park Hawaii and further coastal stops
You’ll also see Sea Life Park Hawaii, plus stops further along like Koko Marina Center and Hawaiʻi Kai Towne Center. Again, tickets and activities at attractions won’t be covered, but the trolley can still help you access these areas efficiently.
Kaimukī, local strip stops, and “grab it and go” food access
The route includes stops that feel more local and less tourist-only. If you want meals and snacks without hunting across town, these can be useful.
Examples on the list include Kaimukī Community Park, Miro Kaimuki, Market City Shopping Center, Safeway, and Side Street Inn On Da Strip. There’s also a Leonard’s Bakery stop listed.
I like stops like these because you can use the trolley like a mobile “errand-and-snack route.” Do your shopping, grab something to eat, then reconnect with the sightseeing side of your day.
Practical Tips: avoid wasted time and confusion
Here’s how I’d run this day pass so it stays fun instead of frustrating.
Use the trolley like transportation, not a narration service
Even though this is sold as a trolley experience in English, the route is fundamentally a connection system across many stops. One reported complaint involved a driver who wasn’t easy to understand and didn’t provide much knowledge while riding. So don’t count on live commentary saving your day.
Bring your own info plan. A quick map on your phone and a short list of 2–4 must-see stops will keep you from wandering once you hop off.
Start at Royal Hawaiian Center if you can
Since Royal Hawaiian Center appears repeatedly, it gives you flexibility. It also means you’re likely boarding near a familiar tourist infrastructure.
If you’re driving, note the parking confusion issue and the example that a short session cost $2.50 for 20 minutes at that area. That’s not a reason to skip the day pass. It’s a reason to factor costs and arrive with patience.
Pick one “big ticket” area for your time
Because the day pass is marked around 3 hours (approx.), I’d choose one major zone: Waikiki, downtown culture, or Diamond Head/southeast. Then add one smaller stop for variety (like Ala Moana for shopping or Ward Village for a walk).
If you try to hit everything, you’ll spend more time commuting and less time actually enjoying stops.
Bring the essentials and expect lots of street walking
The itinerary list is packed with neighborhoods. That usually means sidewalks, crossings, and getting on/off in public areas. Comfortable shoes and a water plan matter more than you’d think for a trolley day.
Who this is best for (and who should skip)
This pass is a smart move if you’re traveling light and you like the idea of hopping between well-known areas without booking a car for every transfer.
Best fit:
- First-time visitors who want a single ticket that connects many Honolulu highlights
- Travelers who enjoy short walks between stops and shopping/food breaks
- People who don’t mind doing their attraction planning independently (since admissions aren’t included)
Not ideal if:
- You want a heavily narrated guided tour (one issue reported limited driver communication)
- You’re expecting timed, full visits to places like Hanauma Bay beyond a quick photo window
- You have a strict schedule and can’t spare commuting time between distant areas
Final call: should you book the LeaLea Waikiki Trolley Pink Line?
I’d book this if you want flexible transportation across Waikiki, Ala Moana, and downtown, and you’re happy to handle admission tickets on your own. The main value is access: a $35 day pass that can connect a lot of different parts of Oahu without you reinventing your logistics.
I would hesitate if you need a guided experience with lots of onboard explanation, or if you’re planning a “see everything” day. The route is broad, but your time window is limited, and photo-stop entries like Hanauma Bay are short by design.
If you tell me your travel dates and which 3 stops you most want (for example: Diamond Head, Bishop Museum, and Ala Moana), I can suggest a realistic short-day game plan that fits the trolley timing.
FAQ
How much does the LeaLea Trolley and Waikiki Trolley Pink Line pass cost?
It costs $35.00 per person.
How long does the trolley pass last?
The duration is listed as 3 hours (approx.).
What hours is the trolley route running?
It runs daily from 8:00 AM to 5:00 PM.
What is included in the price?
The price includes only the trolley pass.
Are attraction tickets included (museums, zoos, or parks)?
No. The pass does not include any admission or entrance fees.
What is the cancellation policy?
You can cancel for a full refund if you cancel at least 24 hours before the start time. If you cancel less than 24 hours before, it isn’t refunded. Free cancellation is available.